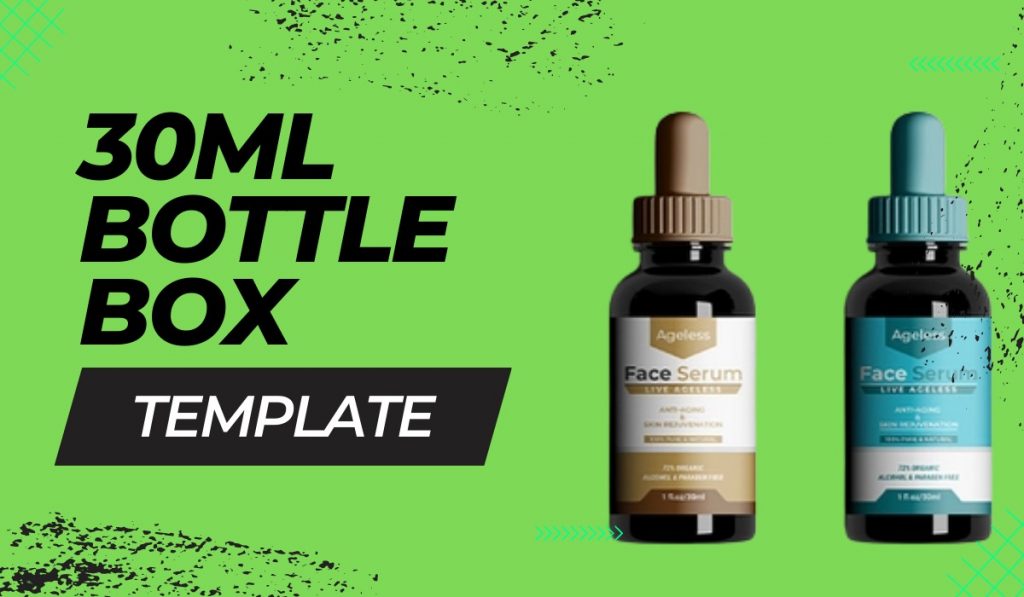
Creating a custom box template for a 30ml bottle is essential for businesses in the cosmetic, pharmaceutical, or essential oil industries. A well-designed box not only protects your product but also reflects your brand’s identity and enhances customer experience. This guide will walk you through the process of creating a 30ml bottle box template step by step.
Step 1: Understand the Dimensions of Your 30ml Bottle
The first step in designing a box template is understanding the dimensions of your 30ml bottle. Standard 30ml bottles vary in size and shape, including round, oval, or square bases.
- Height: Measure the height of the bottle from the base to the top, including the cap.
- Diameter/Base Width: For round bottles, measure the diameter. For square or rectangular bottles, measure the width and depth.
- Allowance: Add a small allowance (1-2mm) to each dimension to ensure the bottle fits snugly but isn’t too tight.
Step 2: Select the Box Style
Choose a box style that suits your product and branding. Common styles include:
- Straight Tuck End Box: Offers easy assembly and is ideal for small, lightweight products.
- Reverse Tuck End Box: Similar to the straight tuck but with a reversed flap for a distinct look.
- Auto-Lock Bottom Box: Provides additional support for heavier bottles.
- Custom Die-Cut Box: Allows for creative designs, such as windows to showcase the product.
Your choice should balance aesthetics, functionality, and cost.
Step 3: Choose Your Materials
Select a material that protects the bottle while complementing your branding:
- Cardstock: Affordable and versatile, suitable for lightweight bottles.
- Corrugated Cardboard: Durable and offers extra protection during shipping.
- Kraft Paper: Eco-friendly and ideal for brands emphasizing sustainability.
Step 4: Use Design Software
To create your box template, you’ll need graphic design software such as Adobe Illustrator, Canva, or CorelDRAW. These programs allow you to draw precise shapes and include design elements like logos and text. Here’s how to proceed:
- Create a New Document: Set the dimensions based on your calculated measurements.
- Draw the Template Outline: Use the shape tools to draw panels corresponding to the box sides: front, back, left, right, top, and bottom.
- Add Tabs: Include flaps for gluing or folding to hold the box together.
- Include Bleed and Safe Margins: Add 3-5mm for bleed (extra space for printing) and mark safe margins where important elements like text and logos shouldn’t be placed.
Step 5: Add Design Elements
Customize your box template with branding and design features:
- Brand Logo: Place your logo prominently to enhance brand recognition.
- Product Information: Include essential details such as the product name, ingredients, usage instructions, and expiration date.
- Graphics: Use eye-catching patterns or images that align with your brand identity.
- Color Scheme: Select colors that represent your brand and appeal to your target audience.
- Typography: Choose fonts that are readable and consistent with your brand voice.

Step 6: Incorporate Functional Features
Make your box more functional by adding features like:
- Cut-Out Windows: Let customers see the product without opening the box.
- Inner Holders: Add a cardboard insert to secure the bottle and prevent movement.
- QR Codes: Include QR codes linking to product information, usage videos, or promotions.
Step 7: Test the Template
Before mass production, test your template to ensure accuracy:
- Print a Prototype: Print the template on paper or cardboard.
- Assemble the Box: Cut, fold, and glue the prototype to form the box.
- Check the Fit: Place the bottle inside to confirm it fits perfectly.
- Assess the Design: Examine the prototype for any design or printing errors.
Step 8: Choose a Printing Method
Select a printing method that matches your budget and desired quality:
- Digital Printing: Ideal for small batches or custom designs.
- Offset Printing: Cost-effective for large orders and provides high-quality results.
- Screen Printing: Suitable for simple designs and logos.
Step 9: Finalize and Produce
Once satisfied with your design, send the template to a professional printer or use an in-house setup. Provide clear instructions about materials, finishes, and any additional requirements.
Step 10: Evaluate Customer Feedback
After launching your product, gather feedback on the packaging. Customers’ insights can help you refine the box design in future batches.
Tips for Success
- Invest in Professional Design: If you lack design skills, hire a professional to create a visually appealing and functional template.
- Consider Eco-Friendly Options: Use recyclable or biodegradable materials to appeal to environmentally conscious customers.
- Stay Updated on Trends: Regularly update your box design to stay relevant in a competitive market.
Conclusion
Creating a 30ml bottle box template involves a mix of creativity, precision, and practicality. By following these steps, you can design packaging that not only protects your product but also reinforces your brand’s identity. A well-crafted box template can leave a lasting impression on your customers, helping your product stand out in a crowded marketplace.
Visit TemplateCare.com for more design tips and resources to simplify your packaging journey.


