Whether you need to make a ring box template for a gift or for your wedding. This blog will show you how to get the job done and create the perfect ring box, that’s just right for the occasion.
Why You Should Consider Using a Ring Box Template
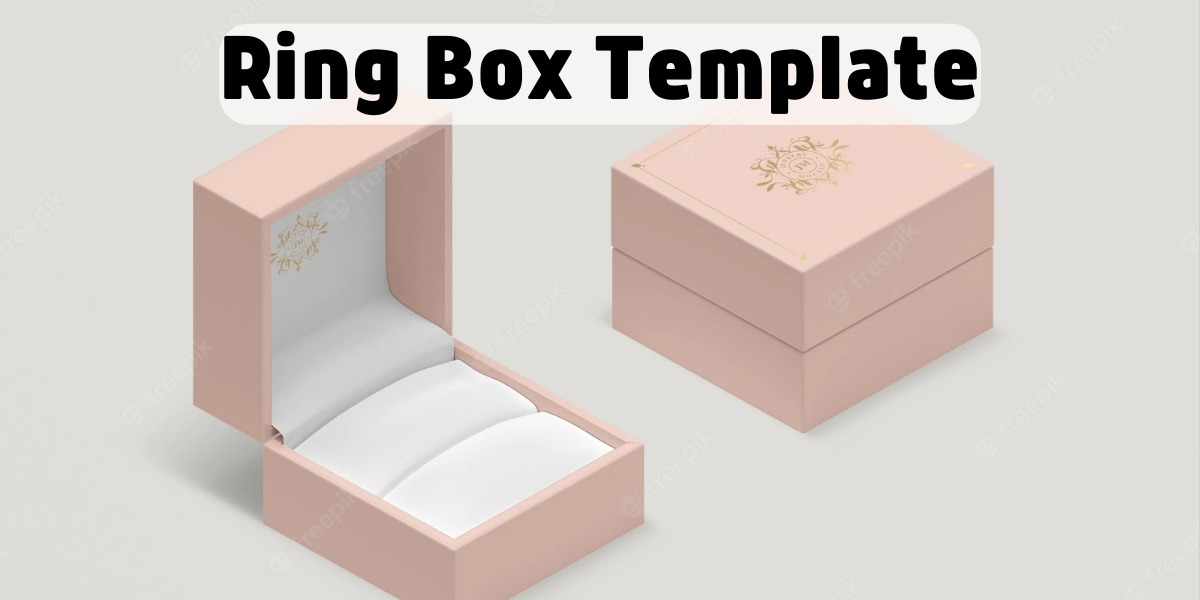
A ring box is one of the most important elements of a wedding. It’s the perfect place to store your rings, and it can make things so much easier when you need to find them. Plus, a custom ring box template makes things even more convenient. You can customize the template to reflect your personal style, and you won’t have to worry about making mistakes.

Plus, you’ll save time and money by creating your template instead of hiring someone to do it for you.
Here are some reasons why you should consider using a ring box template:
- It will save you time and money: Creating your ring box template will save you time and money. You won’t have to spend hours searching for your rings or trying to remember where you put them last night. With a template, everything is already organized for you.
- You’ll be able to customize the design: If you want something unique and personalized, a ring box template is perfect for you. You can choose the colors, fonts, and designs that reflect your personality perfectly.
- It will be easy to follow: A well-made ring box template is easy to follow and doesn’t require any complicated instructions or special skills. Anyone can create one in just a few minutes using simple templates available online or in print form.
If these reasons don’t convince you yet, consider this: Creating your ring box will make things so much simpler on your wedding day!

How To Make A Ring Box Template
Making a ring box template is a great way to organize and protect your rings during your wedding. The template can be customized to fit your needs, and it’s easy to make. Here’s how to make a ring box template:
- Start by tracing the outline of the inside of a ring box onto heavy paper or cardstock. Make sure the outline is accurate, as you’ll need it to create the final template.
- Cut out the outline using scissors or an X-acto knife. Be careful not to cut too close to the edge of the ring box lid, as this will prevent it from fitting properly onto the template later on.
- With the help of another person, place the ring box lid onto the traced outline and mark where it should fit snugly. If necessary, trim away any excess material around the lid until it fits perfectly.
- Using a pencil, draw lines around all four sides of the lid so that they’re even with each other and line up with corresponding marks on the template. Don’t forget to draw lines around any protruding pieces of metal on the lid (like hinges).
- Once all lines are drawn, use a drill or an electric hand saw to cut out the interior shape of the lid from the paper or cardstock using these lines as guides.
Tips for Choosing a Ring Box Template
When it comes to choosing a ring box template, there are a few things to keep in mind. First, make sure the template is large enough to hold your rings comfortably. Secondly, choose one that features a delicate and tasteful design. And finally, be sure to personalize the template with your wedding details, such as the bride and groom’s names. To create a custom ring box template, start by measuring the inside of your desired ring box.
Once you have the dimensions figured out, use these measurements to create a sketch or photo of the inside of your box on a piece of paper. Next, use Adobe Photoshop or another photo editing software program to create a mock-up of your ring box template. Make sure to include all of the details from the corners of the box to the thickness of the cardboard to ensure that your final product looks accurate and professional.
Once you have created your mock-up, it’s time to start printing out copies of your template. You can print out several copies for different parts of your wedding such as invitations and RSVP cards or simply keep one copy handy for reference during construction. When assembling your ring box templates, be sure to follow instructions carefully so that everything goes smoothly and without any mistakes. With careful planning and meticulous attention to detail, creating a custom ring box template for your wedding will be easy and hassle-free!
Alternatives To The Wedding Ring Box
One popular alternative to the wedding ring box is a custom-made ring box. You can create your own ring box template, or purchase one online. To make your own ring box template, you will need a piece of paper that measures the desired inside dimensions of your ring box (width and depth). You will also need a ruler and a pencil.
To create the template, first, draw a rectangle on the paper that is the same width and depth as the desired inside dimensions of your ring box. Next, mark off four equally spaced horizontal lines across the top of the rectangle. The lines should be 1/4 inch from the edge of the rectangle. Finally, mark off four equally spaced vertical lines across the bottom of the rectangle. The lines should be 1/4 inch from the edge of the rectangle.
Now cut out both sides of the rectangle with a sharp knife. Be sure to keep track of which way you are cutting so that you can line up the new side pieces concerning the original side pieces when you glue them together. Glue both sides together along their long edges, making sure to press down firmly so that they adhere well to each other.
Then glue one end of an elastic band to one side piece and one end of an elastic band to the other side piece. Make sure that both ends of each elastic band are facing in opposite directions so that they won’t pull apart when you put your ring into it later on.