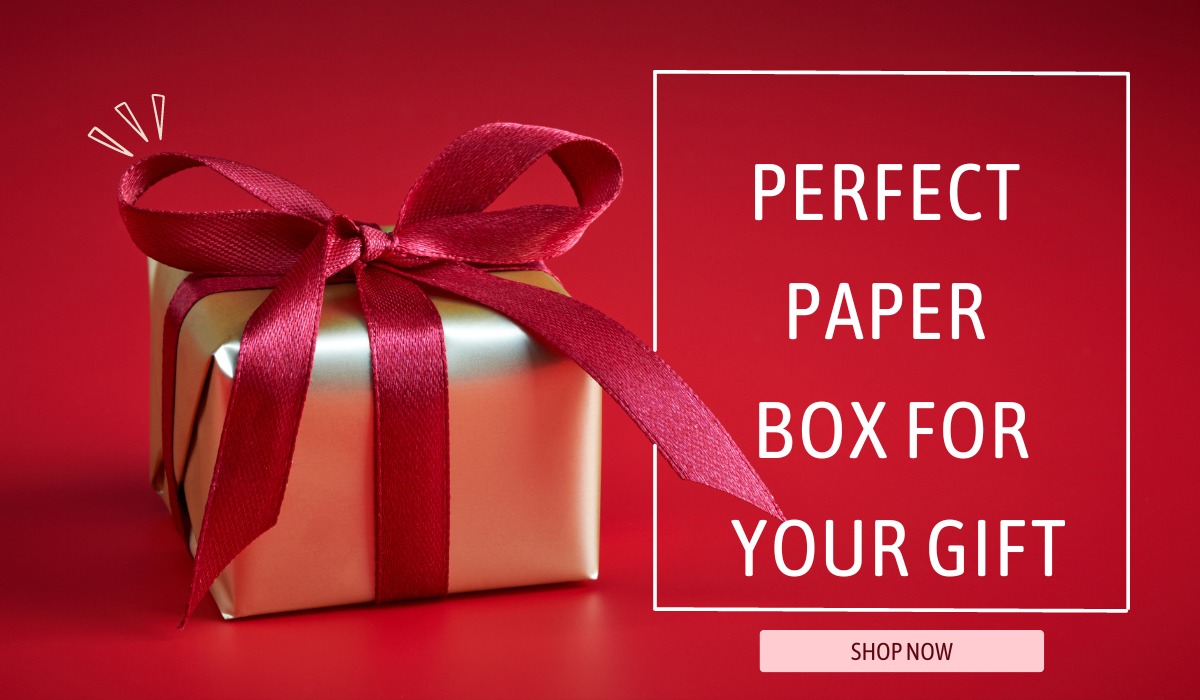
These days, the trend seems to be all about DIY and making your own things. This article will help you find an easy, fun Paper Box For Your Gift that is perfect for wrapping a gift- even if you’re not very good at DIY.
What Is A Paper Box?
A paper box is a box made of paper that is usually used for packaging. Paper boxes are made from a variety of materials including cardboard, kraft paper, and even recycled paper. They are often decorated with a variety of designs and can be custom-made to fit any size or shape. Paper boxes are an ideal choice for packaging a variety of products such as gifts, clothing, jewelry, and more.
They are also perfect for storing items such as photos, mementos, and other small objects. Paper boxes are durable and can withstand a lot of wear and tear. They are also easy to assemble and disassemble, which makes them perfect for shipping and moving purposes.
Materials For A Paper Box: Cardstock, String Ribbon
When it comes to creating the perfect paper box for your gift, the materials you use are important. Cardstock is the foundation of your box and gives it structure. String ribbon adds a touch of elegance and can be used to close the box or tie it shut.
Instructions:
- Cut a piece of cardstock to the desired size of your box. If you want a square box, make sure all four sides are of equal length.
- Fold the cardstock in half so that the long sides meet. Crease the fold with a bone folder or your fingers.
- Open up the cardstock and then fold each short side to meet in the center crease. Crease the folds with a bone folder or your fingers.
- Fold along the center crease again, making sure that the short side folds are tucked inside. Crease the fold with a bone folder or your fingers.
- To create the box bottom, take one short side and bring it up to meet the opposite short side. Crease the fold with a bone folder or your fingers and then repeat for the other two sides.
- Flip the box over so that the seam is on the bottom and then use a bone folder or your fingers to press down on all four corners, creating a sharp point.
- To finish, tie a piece of string ribbon around the box and knot it in place. You can also use adhesive to close it.

Tools For Creating A Paper Box: Scissors, Ruler, Pencil
The first step is to gather your supplies. For this project, you will need scissors, a ruler, and a pencil. Once you have your supplies, you are ready to begin creating your paper box. The next step is to use your scissors to cut two pieces of construction paper to the same size. Once you have your two pieces of construction paper, you will use your ruler to draw a line down the middle of one piece of paper. This line will be used as a fold line later on.
After you have drawn your fold line, it is time to start decorating your box! Use your pencil to draw whatever design you want on the outside of your box. You can make it as simple or as elaborate as you like. Once you are happy with your design, it is time to start assembling your box. To assemble your box, start by folding along the line that you drew earlier. Then, use your scissors to cut slits along the sides of your box so that the flaps overlap. Finally, use tape or glue to secure the overlapping flaps in place, and voila! Your paper box is complete!
Step-By-Step Process To Create The Perfect Paper Box
If you’re looking for a unique and special way to wrap a gift, look no further than a paper box! With just a few supplies and some simple instructions, you can create a one-of-a-kind paper box that’s perfect for any occasion. Here’s what you’ll need:
- -A sheet of cardstock or construction paper
- -A pencil
- -A ruler or straight edge -Scissors
- -Tape or glue
First, decide on the size of your box. Cut a piece of cardstock or construction paper to the desired length and width. For example, if you want a 5″x5″ box, cut your paper to 10″x5″. Then, use a pencil and ruler to score along the long side of your paper at 2.5″, 5″, 7.5″, and 10″. This will be where you fold your box. Next, cut along the short sides of your paper at 2.5″ and 7.5″. Now it’s time to start assembling your box! Fold along the scored lines and secure the sides with tape or glue.
Finally, decorate your box however you’d like! Add ribbon, stickers, or anything else that will make it extra special. Now you have everything you need to create the perfect paper box for your next gift!
Paper Box For Your Gift
With these tips, you should be able to create the perfect paper box for your next gift. Just remember to choose sturdy paper, use double-sided tape for a clean finish, and decorate with photos or images that represent your recipient well. With a little bit of time and effort, you can create a one-of-a-kind gift that they’ll love.