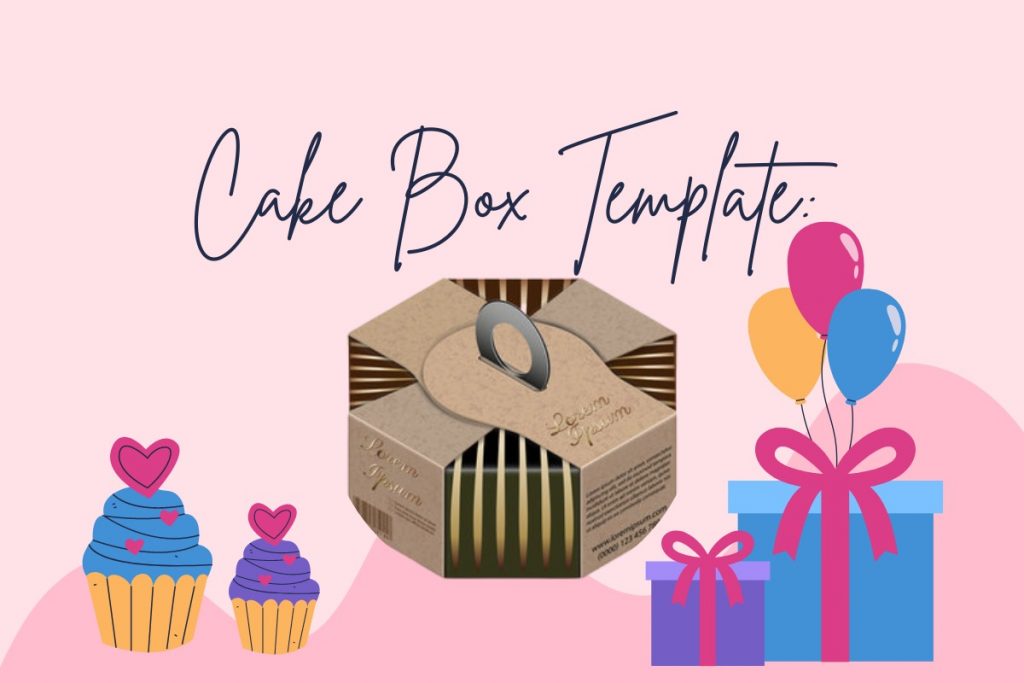
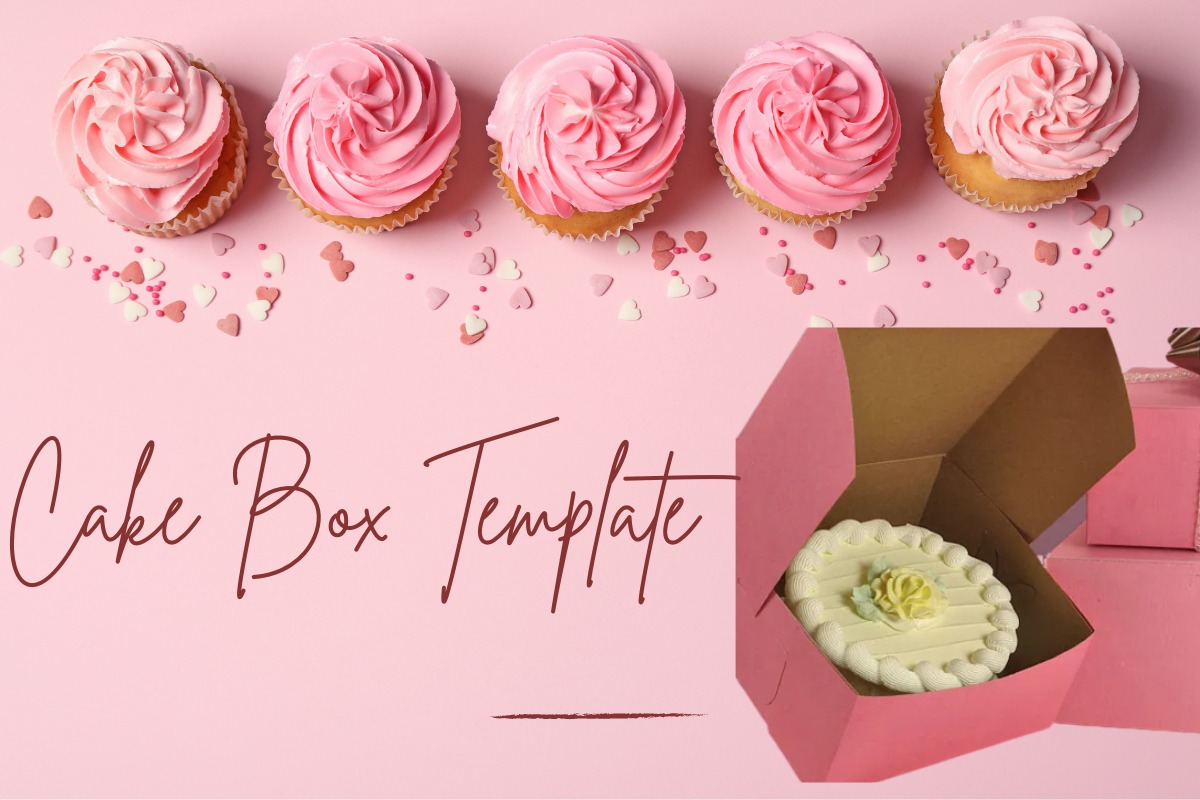
Are you looking for a professional cake box template? Great! We have some great templates that are perfect for any occasion.
What is a Cake Box Template?
If you’re looking for a way to package your cakes that are both professional and stylish, then a cake box template is the perfect solution. A cake box template allows you to create a custom size box for your cakes, cupcakes, or other desserts that is both sturdy and good-looking. There are a few things to consider when choosing a cake box template.
First, you’ll need to decide what size box you need. The most common sizes are 8x8x4 inches and 9x9x4 inches, but you can find templates for other sizes as well. Once you know the size of the template, you can choose the style of the box. The two most popular styles are the gable top and the window top. The table top is the most traditional style of the cake box, and it’s easy to assemble. The window top is a bit more modern and gives your cakes a more sophisticated look.
Regardless of which style you choose, make sure that the template you select comes with easy-to-follow instructions. Once you have your cake box template, simply trace it onto cardboard or poster board and cut it out. Then fold along the lines and tape or glue the sides together. If you’re using a gable top template, be sure to score the fold lines before folding so that your lid will fit snugly on top of the box. Now all that’s left to do is decorate your box!
How to Make a Custom Size Sheet Cake Box Template?
When it comes to cake, there is no one-size-fits-all solution. The perfect cake box template will vary depending on the size and shape of your cake. If you’re selling custom cakes, then you’ll need a custom size sheet cake box template. This will ensure that your cakes arrive safely and intact to your customers. Here’s how to make a custom-size sheet cake box template:
- Measure your cake. Use a ruler or tape measure to determine the length, width, and height of your cake.
- Cut out a piece of cardboard that is slightly larger than your cake. This will be the bottom of your box.
- Cut four pieces of cardboard for the sides of your box. The length and width of these pieces should match the measurements of your cake + 1 inch (for overlap). The height should be determined by the height of your cake + 1 inch (for overlap).
- Assemble your box by attaching the sides to the bottom using tape or glue. Be sure to leave an opening at the top! 5. Decorate as desired and add a lid (optional).
How To Fold The Cuts For The Cake Box Template?
To make the cuts for the cake box template, first, fold the top and bottom flaps of the box inwards. Then, cut along the dotted lines on the sides of the box. Next, fold in the remaining side flaps, and glue or tape them in place. Finally, cut out the window on the top of the box, and your template is complete!

How To Create a Circle And Cut It Out?
Assuming you have a square or rectangular piece of paper, fold it in half diagonally to create a triangle. Cut out a small semicircle at the top of the triangle. This will be the opening of your box. Unfold the paper and you will have a diamond shape. Fold the diamond in half horizontally. Cut out a small semicircle at the top of the triangle. This will be the bottom of your box. Unfold the paper and you should have a square with a circle cut out of the center.
How To Create Triangles, Rectangles, or Squares?
If you’re looking to make a custom cake box template, you can do so by creating triangles, rectangles, or squares. Here’s how to create each shape: Triangles: To create a triangle, start by folding a piece of paper in half. Then, cut the paper along the fold to create two halves. Next, take one half and fold it in half again. Cut along the fold to create two quarters. Finally, take one quarter and fold it in half one last time. Cut along the fold to create four-eighths.
Now you have your triangle! Rectangles: To create a rectangle, start by folding a piece of paper in half. Then, cut the paper along the fold to create two halves. Next, take one half and fold it in half again. Cut along the fold to create two quarters. Finally, take one quarter and fold it in half one last time. Cut along the fold to create eight-eighths. Now you have your rectangle! Squares:
To create a square, start by folding a piece of paper in half. Then, cut the paper along the fold to create two halves. Next, take one half and fold it in half again. Cut along the fold to create two quarters. Finally, take one quarter and fold it in half one last time. Catalog the fold to create sixteen-eighths. Now you have your square!
What Type of Paper Should You Use For Your Templates?
There are a few different types of paper you can use for your cake box templates. Cardstock is the heaviest and most durable option, making it a good choice if you plan on using your template more than once. Paperboard is lighter-weight and less expensive, making it a good choice for single-use templates. Foam board is lightweight and easy to cut, making it a good choice for intricate designs.
Conclusion:
Making a custom size cake box is easy with the right template. With a few simple supplies, you can make a cake box that is the perfect size for your cakes. Whether you are making a small cake for a special occasion or a large cake for a wedding, you can find the perfect template to fit your needs.


