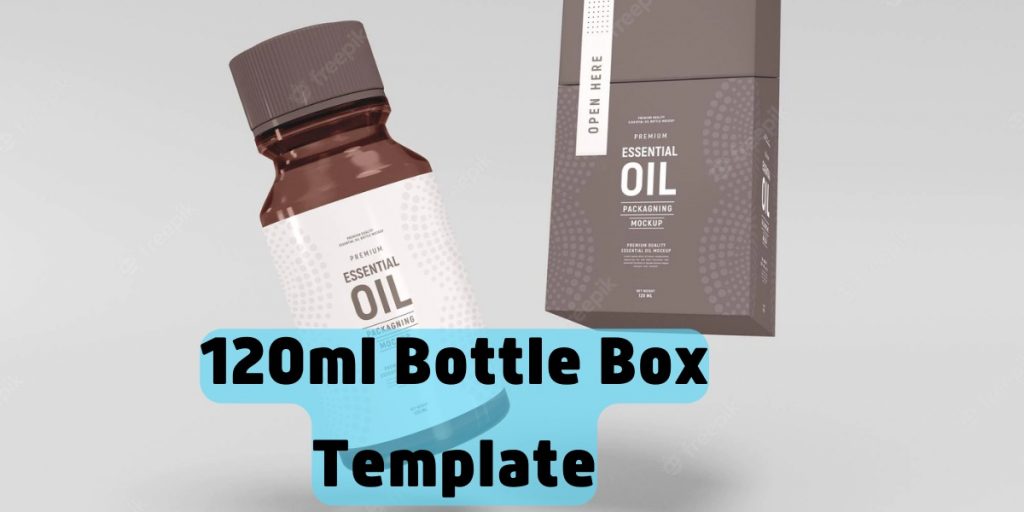
Alright, let’s get down to the nitty-gritty. You’re an at-home DIYer looking for a way to make your own 120ml bottle box template so that you can label your bottles with easy and professional-looking labels. Well, hold your horses, because we’ve got the perfect solution for you! Creating a custom 120m bottle box template is as simple as inserting the image of your favorite bottle design into this piece of DIY software and voila you have a label right in front of your eyes!
What Is The Purpose Of A 120ml Bottle Box Template?
The purpose of a 120ml bottle box template is to help you create standardized, easy-to-print bottle boxes for your business. This template can be customized to fit the branding and look of your business, and it can be used to package small items like candy or supplements. By printing out this template, you’ll be able to save time and money in the long run by having precise, consistent packaging for your products.

How To Make Your 120ml Bottle Box Template
Making your own 120ml bottle box template is easy to do and a great way to reuse old plastic bottles. You can customize the template to make it look however you like. All you need is a printer, some paper, and a few tools. To start, print out the template onto thin paper.
Cut out the pieces and then fold them in half so that they form an L-shape. This will be the top of your bottle box. Next, cut two small holes in the top of the L-shape and then use a hot glue gun to attach some cute ribbon or ribbons to the top of your bottle box.
You can also add any other embellishments that you like, such as stickers or photos. Now let’s make the bottom of your bottle box. Print out another copy of the template and cut it out. Make sure that this template is larger than your actual bottle box so that you have enough room to fit it inside your plastic container.
Types Of Bottle Boxes
Glue this template onto the bottom of your plastic bottle container, making sure that it lines up perfectly! Your custom 120ml bottle box is now complete! If you want, you can display it on a shelf or use it for storage purposes in your home office or bedroom.
Bottle boxes can come in a variety of styles and sizes, so it’s important to have a template or guide to help you create the perfect one for your needs. Here are some of the most popular types of bottle box templates: Rectangular Bottle Boxes: These are the most common type, and they come in both small and large sizes. You can use this style for any type of bottle, including beer, wine, or liquor. Horseshoe Bottle Boxes: This style is perfect for holding smaller bottles of alcohol like scotch or vodka.
It has a horseshoe shape that makes it easy to grab and pull out individual bottles. Cupcake Bottle Boxes: These boxes are best suited for holding candy or other small snacks. They have a shape like cupcakes on top, and the sides curve inward to make it easy to grab smaller items. Wine Bottle Boxes: These boxes are made specifically for storing wine bottles. They have two separate compartments inside that can hold different types of wine bottles securely.
Why Should You Make Your Bottle Box?
If you’re like most people, you probably use a lot of plastic bottles. Not only do they take up space in your recycling bin, but they also often end up in landfill. Making your bottle box is an easy way to reduce your environmental impact and save money at the same time. There are a few things you need to get started. The first thing you’ll need is a template. You can find one online or by downloading one from the internet.
Once you have the template, it’s time to start cutting! You’ll need to cut out three pieces of cardboard: the front, back, and bottom. The front and back should be about 1 inch larger than the bottom so that they will fit inside the bottle box. The bottom should be smaller so that it can sit on top of the other pieces. Once you have all of your pieces cut out, it’s time to start assembling them!
Start by placing the front and back pieces inside the bottom piece so that they fit snugly together. Then add the top piece over the top of them and press down until everything is secure. Finally, add any decoration that you want (if any) and your ml Bottle Box is ready to use!